

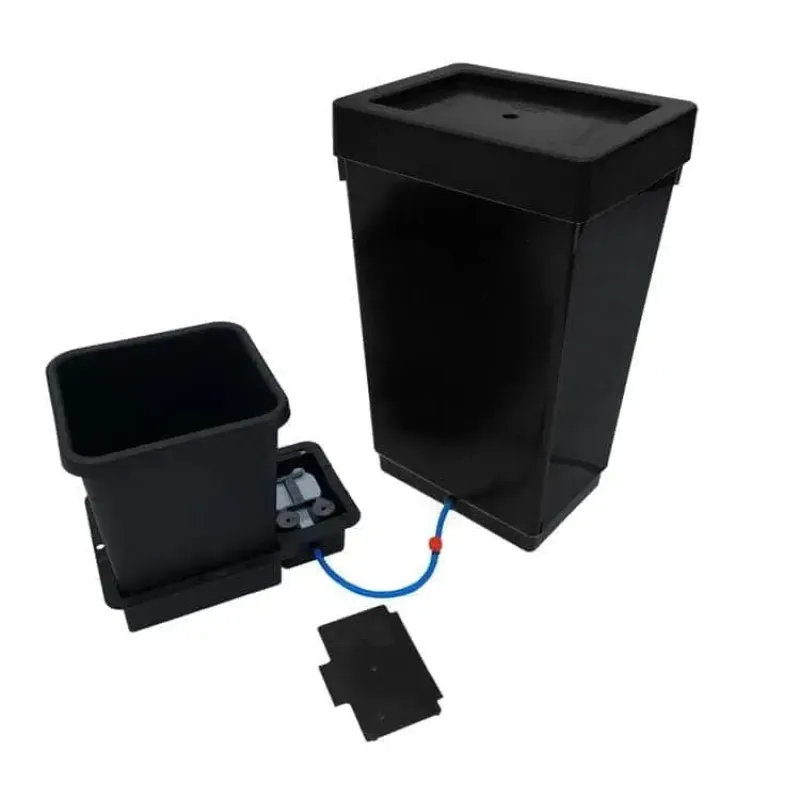
AutoPot - 1Pot 1 Pot Watering System Starter Kit incl. Tank
One pot, with a 47 litre tank. Runs on gravity: no pump, no power.
- AutoPot
- Model: AP200/SQ/1/s
- EAN: 5060151870568

QUALITY

PAYMENT

SHIPPING

PACKAGED
Carefully selected products.
Fast and secure checkout experience.
EU-wide delivery from trusted stock.
Carefully and discreetly packaged.
The 1Pot system for a single pot is the smallest complete AutoPot setup: one tray with AQUAvalve5, one 15 litre pot, the 47 litre tank and all the connecting hardware. One plant, watered fully automatically, with no power and no timer.
The two discs in the box, and where each belongs
Every pot comes with two kinds of root disc. They look similar and do quite different jobs, and in the wrong place they do not work.
The black Marix disc goes inside the pot, flat on the base. It keeps compost in the pot. That sounds cosmetic and is not: substrate washing into the tray ends up at the AQUAvalve5, and that valve regulates on a narrow inlet and an air seal. Debris there means a valve that no longer closes properly, or no longer opens.
The black and gold Root Control Disc goes in the tray, under the pot, with the gold side up. That metallic coating stops roots that would otherwise grow through the pot base toward the water in the tray and eventually reach the valve. Roots grow through concrete, so lift your pot occasionally and cut away anything that has got through. It does the plant no harm.
Both discs last several seasons. Replace them at the start of a new crop and you carry no disease over from the last one.
Potting up in the right order
This sequence comes from AutoPot's own guidance and is worth following:
- Black Marix disc into the pot.
- 2.5 to 5 centimetres of washed gravel, perlite or clay pebbles at the base. No higher than 5 cm.
- Fill the rest with your medium, coco with perlite for instance.
- Transplant.
- Water outside the tray and let it drain for fifteen minutes.
- Wipe the base and sides of the pot clean.
- Root Control Disc into the tray, gold side up.
- Pot into the tray.
- Top-water for seven to ten days while the plant roots in.
- Only then turn the system on.
Those last two steps matter most. A fresh plant has no roots in the lower layer, so water arriving from below never reaches it. Connect too early and the tray stands full while the plant goes dry.
What comes with it
One 1Pot tray with AQUAvalve5, one 15 litre pot with both discs, the 47 litre tank with lid, a water filter set, the fittings set, a metre and a half of pipe and the manual. Enough to start straight away.
The tank should stand higher than the tray, because there is no pump: the height difference is the only source of pressure. Top up while about a third remains; letting it run empty admits air to the line and the valve then loses its seal.
Technical Specifications:
- Pots: 1 x 15 litres
- Valve: AQUAvalve5, own tray
- Included: 47 litre tank with lid, water filter set, fittings, pipe, Marix and Root Control Disc
- Drainage layer: 2.5 to 5 cm, no higher
- Starting up: top-water for 7 to 10 days
Frequently asked questions
Which disc goes where? Black Marix in the pot, black and gold Root Control Disc in the tray, gold up.
Why a drainage layer? To keep capillary contact with the tray even. Higher than 5 cm works against you.
Can I connect straight away? No, top-water for seven to ten days first until roots reach the bottom.
Can I extend later? Yes, with 1Pot expansion sets on the same line.

across Europe

Top brands

across Europe
Top brands